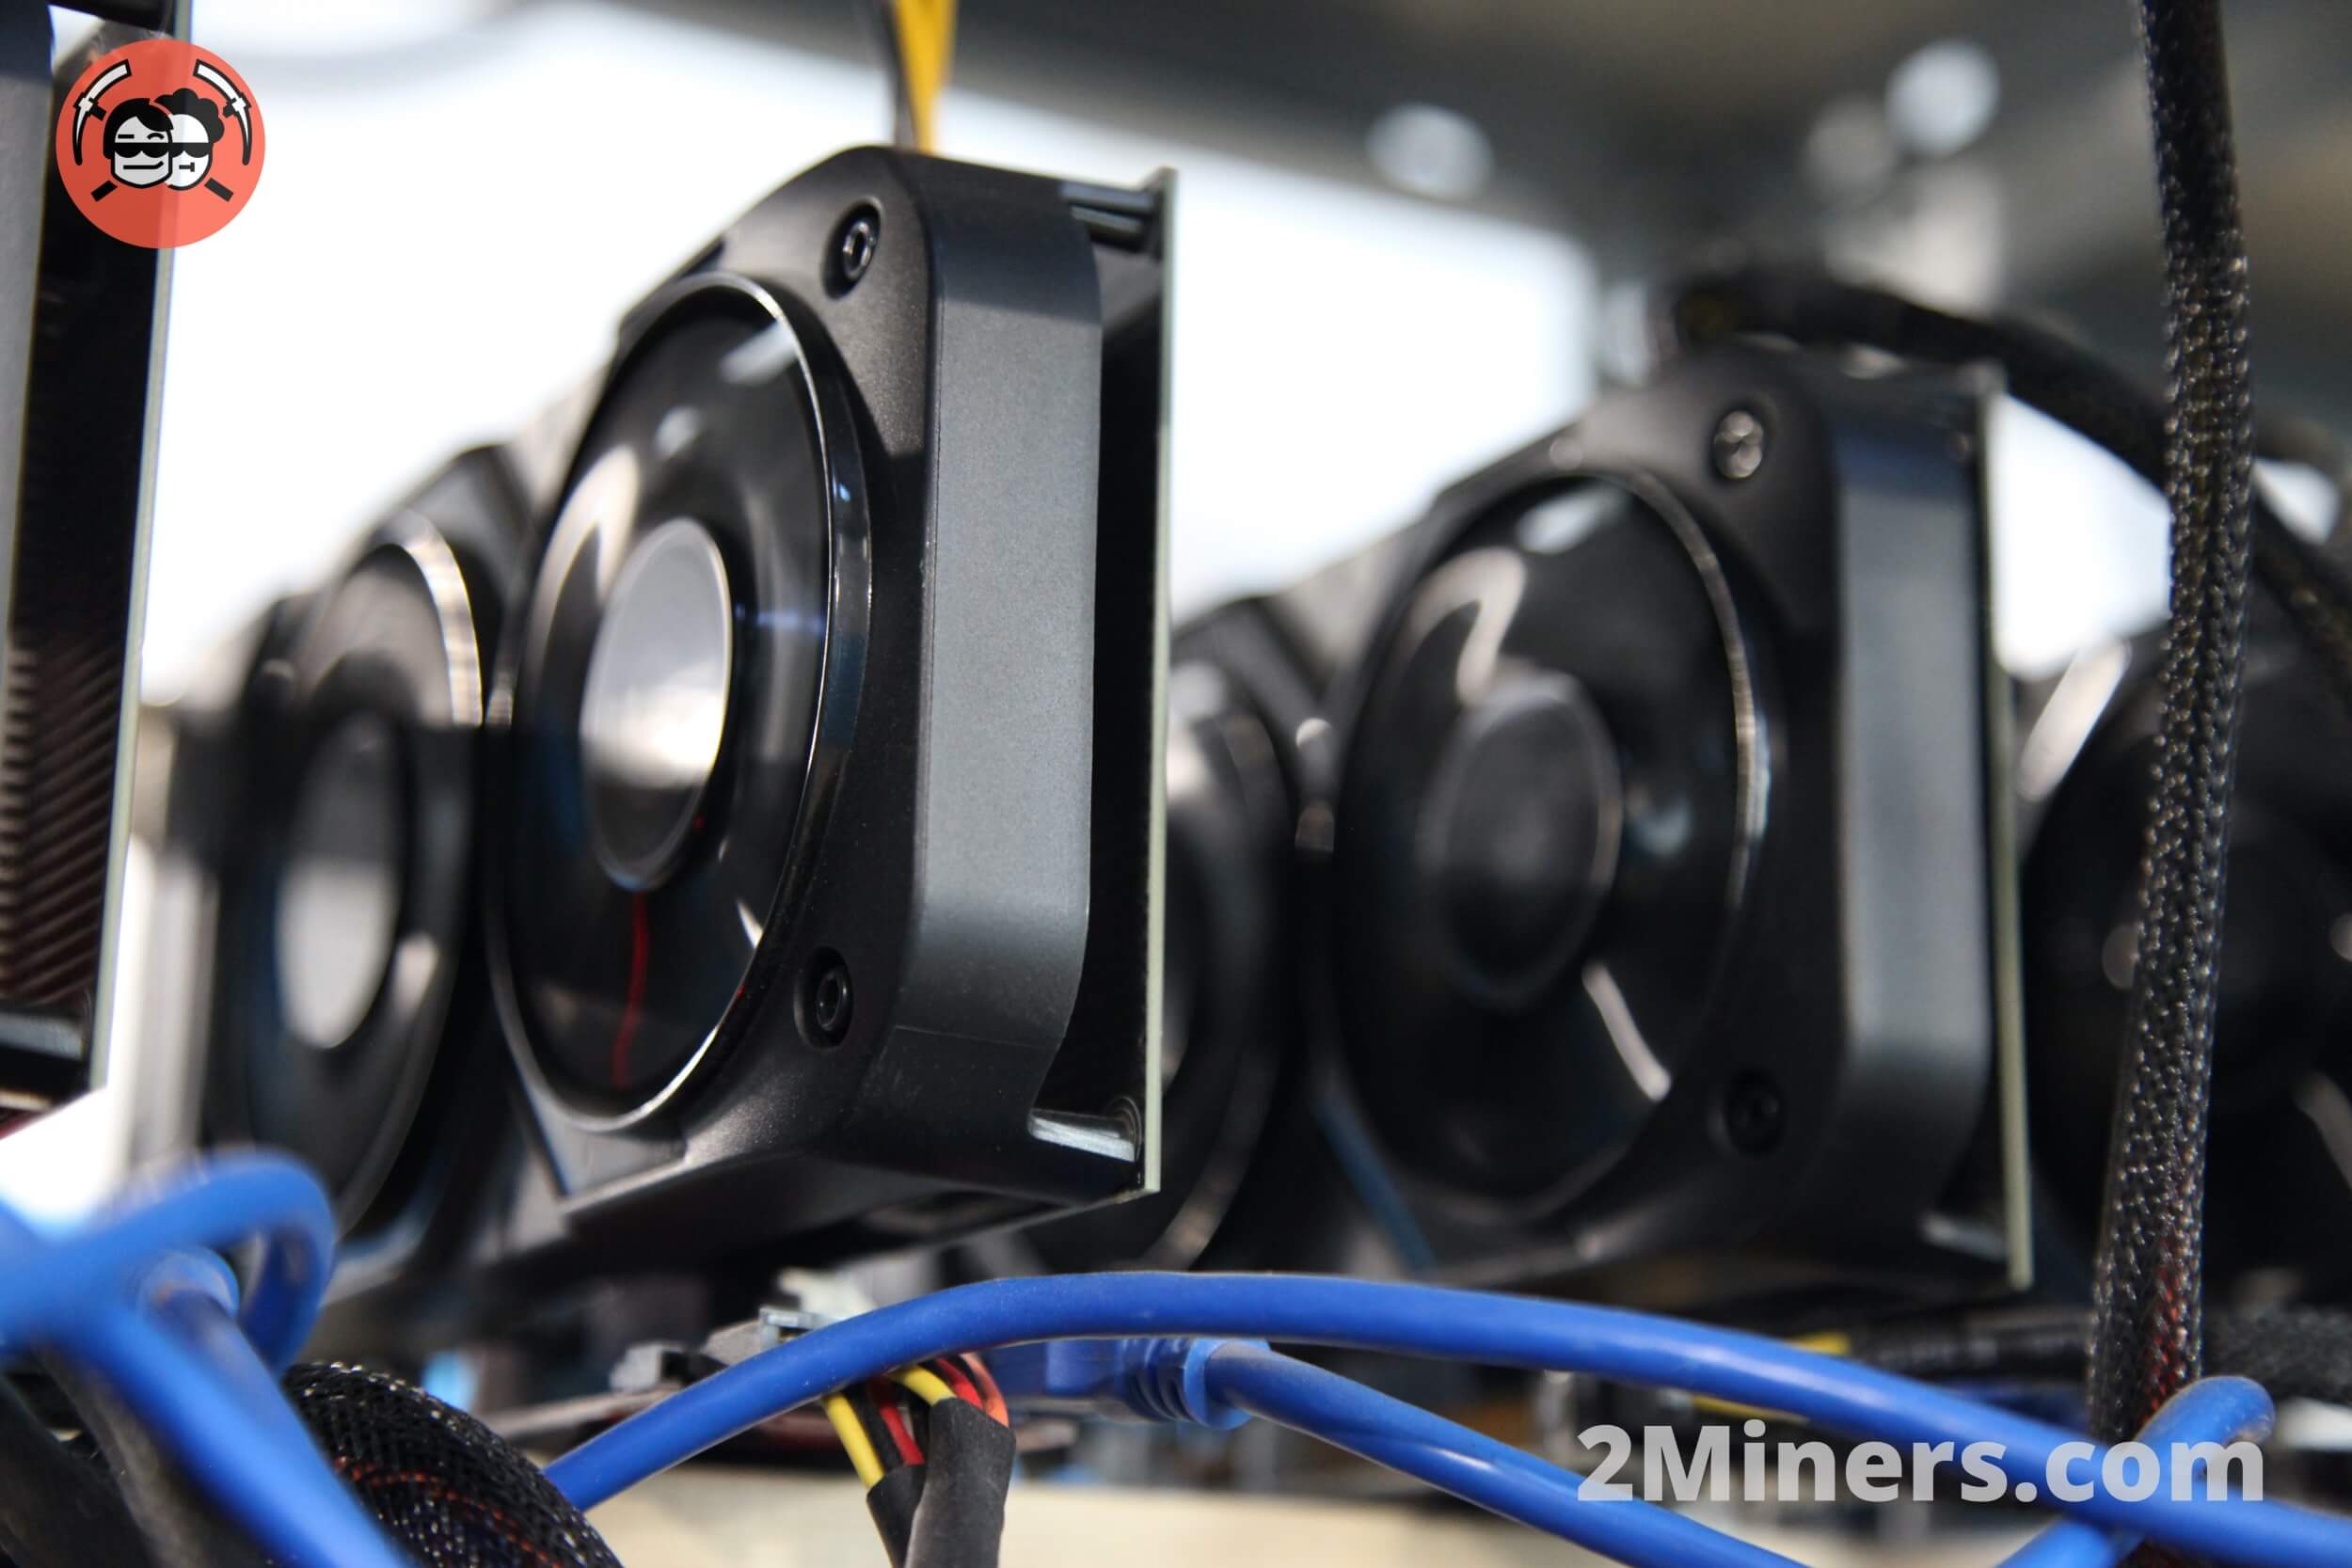
We are going to build a rig using eight graphics cards, either NVIDIA or AMD. Eight is the perfect number in this case, as Windows works well with 8 GPUs, and motherboard with slots for 8 GPUs don’t cost that much. You can always buy a motherboard with slots for up to thirteen cards, but its price is higher than the eight slot version, and you’d have to install Linux to use it. That’s why we recommend 8 GPUs.
We recommend NVIDIA GPU’s as they are more flexible. They could perform well on many mining algorithms. AMD GPU’s are suitable mostly for Ethash coins such as Ethereum. We also recommend buying GPU’s with 8GB memory or more as Ethereum DAG file size is constantly growing.
Have a look at the quality-price ratio when choosing your video cards. Feel free to contact 2Miners support for a piece of advice. By default you could purchase NVIDIA RTX 3060 Ti – this is a good option for beginners: there are many brands to choose from, and these cards are universal, so they work on Ethash, Equihash 144.5, BeamHash, Cockoo and MTP algorithms. However, CryptoNight mining usually operates better on AMD GPU’s. Do not combine AMD and NVIDIA GPUs on the same rig – if you choose AMD, then buy 8 AMD GPUs, if you select NVIDIA, then buy 8 NVIDIA GPUs. NVIDIA 1060 3GB is not very popular nowadays. To find out why read our post Ethereum mining with GTX 1060 3GB cards: Stopped Mining ETH & ETC.
In the following, we have advice from 2miners.com on buying hardware and building a rig.
Purchasing Mining Rig Hardware
Rig’s frame for 8 GPUs: $30. It would be great if you could find somebody to build it for you. Otherwise, you need to go to the nearest hardware store and do it yourself.
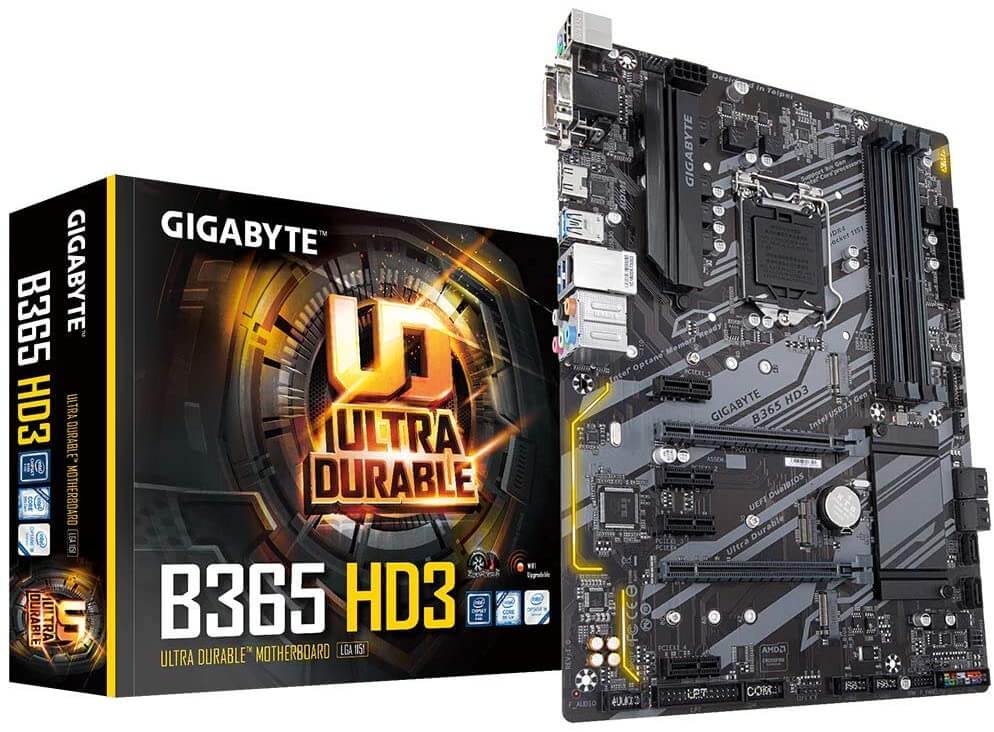
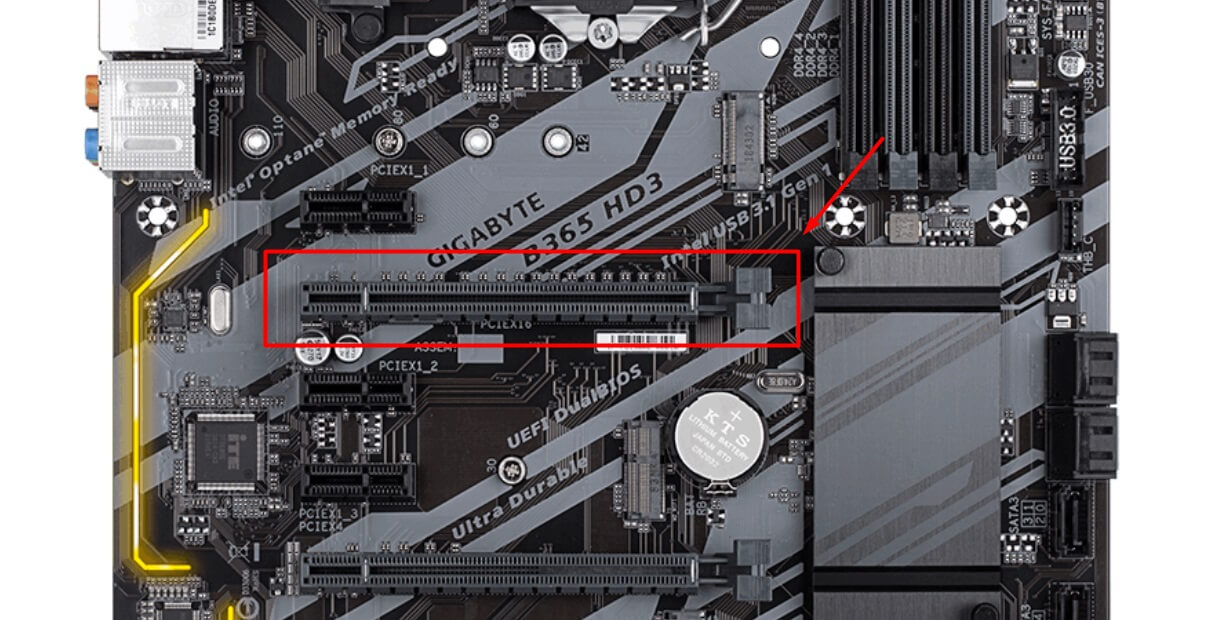
Motherboard: GIGABYTE B365 HD3 — starting from $85. Go to your nearest computer store or order one at Amazon/eBay. Caution, we don’t recommend buying a used one. B365 has slots for up to six GPUs and two M2 slots, which can be used to add two more GPUs through M2 to PCI-e adapter — a total of 8 GPUs.
CPU: $62. You could easily choose the cheapest processor with an LGA1151 socket – it doesn’t matter for mining. We recommend buying a “box” edition. First, the box edition includes the fan. Second, the “box” version warranty period is usually longer. Please note that MTP algorithm usually requires a better CPU and the cheapest version of Celeron is not enough. You could also consider buying a better CPU if you want to use it to mine CryptoNight for example together with GPU mining.
Hard Drive: $20. We strongly recommend SSD. Faster boot time, higher operation speed – it’s excellent, so don’t skimp on it! We’d recommend 80GB SSD, just to make sure, but even with 60GB SSD, you are good to go. If you run some Linux mining distro any sized of SSD would meet your requirements.
RAM: $17. DDR4 only. We usually use Kingston and hope for the best – has never let us down yet. One 4GB RAM-card would be enough – it’s not essential for mining. However, MTP algorithm usually requires more RAM. Please consider buying some more if you plan to mine Zcoin.

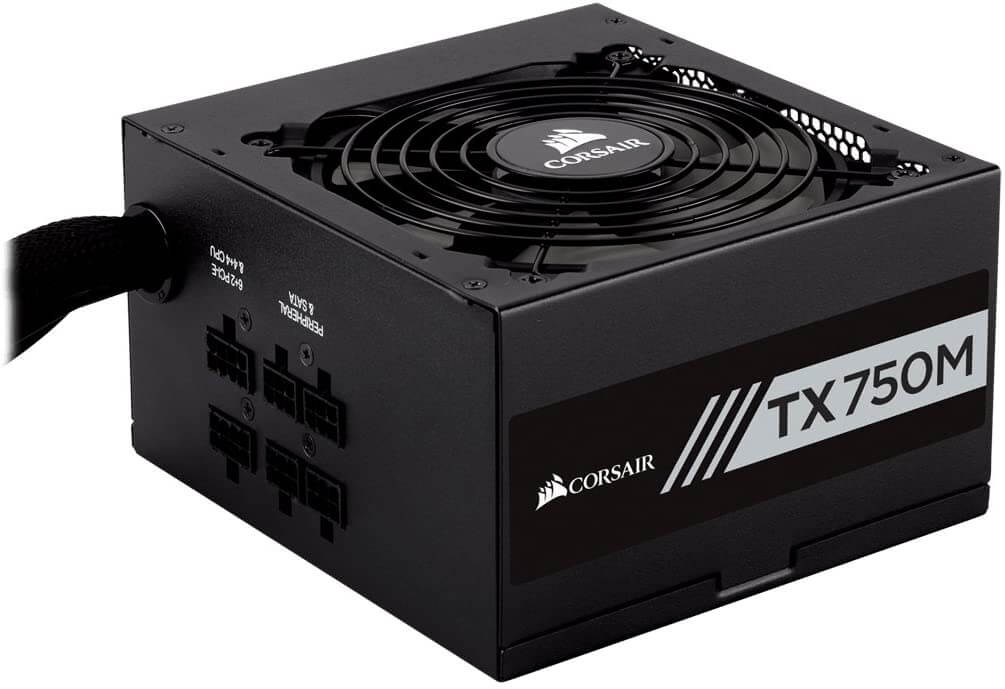
Power supply units: $360. We recommend good-quality Corsair TX750M – three units will be more than enough for one rig ($120 each PSU). That’s true; many prefer some 1600-watt no-name Chinese “magic” PSU. But it works, they say. We didn’t check though. Three TX750M units for 8 GPUs: you can easily connect any eight GPUs you want using cables included in Corsair’s package, plus you’ll end up having some extra power left.
Risers: $44—eight risers for one rig, $5.5 each. 006/007S risers are 100% working – have never let us down yet.
M2 to PCI Adapters: $9. You need two adapters for one rig, $4.5 each. They are made in China and are somewhat problematic. Some batches can be okay while others, every second or third adapter is not working correctly.
Display emulator (HDMI to VGA Adapter): $7. Without it, you won’t be able to set a proper screen resolution in TeamViewer. This item is not required if you use Linux mining distro.
Dual Power Supply Adapter: $20. Two adapters for one rig, $10 each. The ones we’ve chosen are with cables. You may also put in a paper clip – that’s free, or, if you use a powerful Chinese PSU (one for all your GPUs), you don’t need these adapters at all.
Watchdog: $20 – WatchDog Pro 2. Fantastic electronic timer, which will reboot your rig if it gets stuck or if the Internet connection is not connecting.
A total of $718 + GPUs.
If you choose Nvidia 3060Ti, it will cost you at least $400 each so the total of 1 rig would be $3 918.
Build an Ethereum Mining Rig Step by Step
The Basics: First, attach CPU to motherboard, place the cooling fan and RAM. Connect SSD drive via SATA cable. Power it all with one PSU – it will be the primary unit. For now, mount just one GPU.
BIOS: Launch your rig, go to BIOS and update it to the latest version, which is F4A at the moment. You can download it on the Gigabyte website. To install BIOS, put the file with the newest version to a USB flash drive. If BIOS update seems hard for you just skip this step. The motherboard should work well even with the factory firmware.
After a successful BIOS update, you need to configure your motherboard for mining. Below you’ll see a screenshot with personalized settings by 2Miners – you’ll find them in advanced settings (F7).
Windows: Install Windows 10 64bit, go for the default installation, disable whatever you don’t need. Set up an Internet connection and download motherboard drivers from the official website. Go ahead and install all the drivers offered by Gigabyte.
Important: change the virtual memory size. If you have 80GB SSD, feel free to set it to 30,000 MB. Learn how to here.
We recommend installing TeamViewer on the rig, or some other remote control software.
Linux: There are multiple mining distros’ for Linux: RaveOS, HiveOS, ethOS, SimpleMining and other.
Installing GPUs: Depending on your graphics cards, download either Nvidia or the AMD driver. Install the driver, reboot the rig and check if everything is working correctly. Then reboot the rig once again, go to BIOS and adjust the following setting: change ‘Above 4G Decoding’ state to ‘Enabled.’
Turn off the rig. Mount all the other GPUs. It’s better to connect the monitor to the first card (slot #1):
Important: make sure you always plug the cables in so that the GPU and its riser are all powered from the same PSU!
Turn on the rig and wait, for a long while. Windows is going to detect your GPUs one by one. You might see a black screen, but don’t worry, it’s okay – Windows is just doing some hard thinking. In the meantime, if you installed TeamViewer, you may keep an eye on your rig. To do this, just go to Windows Device Manager.
At times some GPUs are not installed correctly and show up in ‘Unknown Devices.’ In this case, you should install the driver manually and specify the path to it.
With AMD GPUs there may be a more complicated issue: cards were installed correctly, but each of them has an exclamation point next to it. AMD atikmdag Patcher can help. Click on ‘Yes,’ and after reboot, the problem is solved!
Watchdog: Connect Watchdog to the Reset and Power connections on your motherboard, so that the timer can reboot or turn on/off your rig. The two images below show the same thing, the only thing that changes is the coloring of wires.
Then install the Watchdog driver and program, which you can find on the official website – click here for the driver and here for the program. Enable Autostart for the program, and adjust the monitoring settings – enable network monitoring and type ‘google.com,’ then enable process monitoring as well, typing in ‘cmd.exe.’
Special features. A few more things you should do.
Prevent your system from going to sleep using power settings. You’d better do it after you have done all the rest, since it may return to default settings when you install GPU drivers. Accessing power settings is easy: Win -> Settings icon -> The first menu entry (System Settings).
If you are planning on overclocking your GPUs, we recommend installing Afterburner. We use MSI Afterburner. For AMD GPUs you’ll need the latest beta version. You are going to adjust all the graphics card settings at your own risk – when in doubt, feel free to contact 2Miners on Telegram or Slack for advice.
Mining software: If you are going to have more than one rig, you could use some controlling software like Awesomeminer. If you don’t need it, then just install PhoenixMiner or Claymore, following the instructions on the How to Start page of Ethereum mining pool.
If you have already downloaded mining software, you can go to 2Miners.com for settings. We have a Quickstart archive – Download ready to go version of the GPU Miners (archive password – 2miners).
